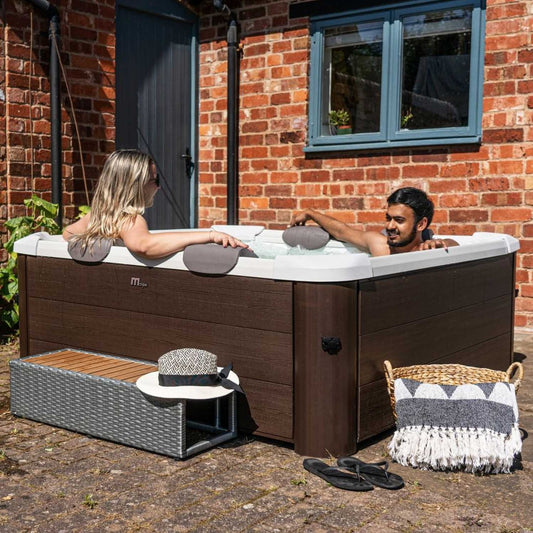
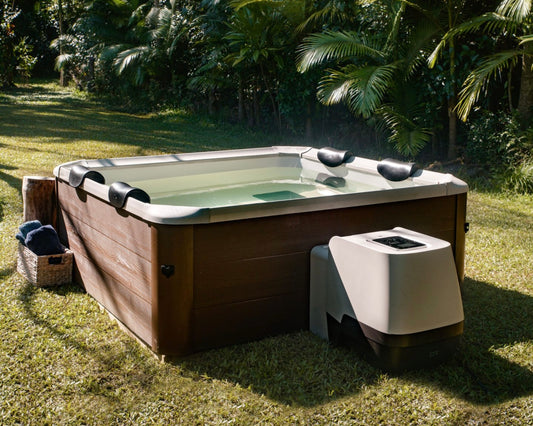
Getting a hot tub is like adding a warm hug to your garden. The MSpa portable hot tub is perfect for relaxation, whether it's a chilly evening or a sunny afternoon. But how do you set it up? Don’t worry! We’ve got everything you need to know for a smooth setup and installation.
What You’ll Need Before You Start
Before jumping in, gather the tools and supplies. Here’s a quick list of what you should need:
- MSpa Portable Hot Tub (Oslo/Tribeca): Make sure you have all parts listed in the instructions ahead of setup to avoid any disappointment.
- Water Source: A normal hose is perfect for filling up the tub, but take into account the hose length when deciding on placement.
- UK Electrical Socket: You'll want a safe power supply (outdoor sockets are ideal), we suggest to keep it away from the hot tub out of the splash area but within the 5.1m cable length.
- Flat Surface: Clear ground space that’s sturdy and level, think about the impact of weather, as well as the movement of the sun throughout the day.
- Towel and Swimming Gear: For when you’re all setup and ready to relax!
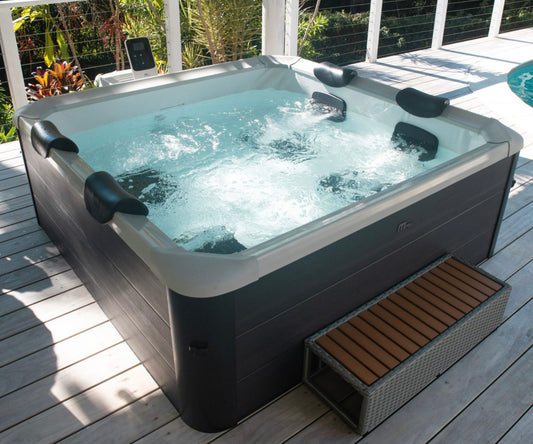
Choosing the Right Spot for Your Hot Tub
Where you put your MSpa hot tub can change your whole experience. Look for an area that’s:
- Level: A flat spot is best. This helps the hot tub drain properly and keeps it stable - not having a hot tub on a level surface usually voids its structure warranty (as it is likely to gradually warp over time).
- Ground: It needs to be placed on a hard surface, I would personally avoid putting the hot tub directly onto dirt/grassed areas.
- Away from Trees: Avoid overhanging branches. No one wants leaves in their relaxation zone, also, you probably want to keep in the sun!
- Power Supply: Place it close to an electrical socket for easy access, it wants to be far enough away to avoid accidental splashing, but close enough to connect it to power.
Unboxing Your MSpa Hot Tub
Once you’ve found your ideal spot, it’s time to unbox! Carefully take out the hot tub and its components. Lay everything out so you can see all the parts. At this stage, please check thoroughly for damages and report any issues you might find in the unlikely event its not arrived perfect!
Setting Up the Hot Tub
Next up, you’ll set up the portable hot tub frame. This part is straightforward:
- Perform RCD Test: Connect the control unit to power and press the "RESET" button, once the indicator light shows, press the yellow "TEST" button (the light should turn off).
- Inflating the Bladder: Screw the inflation attachment to the valve of the unit & attach the hose. Then follow the instructions on your pump & don't forget to remove the inflation attachment once completed. WARNING: Do not over-inflate!
- Floor Mat: Place the ground mat and ensure it is on a level surface.
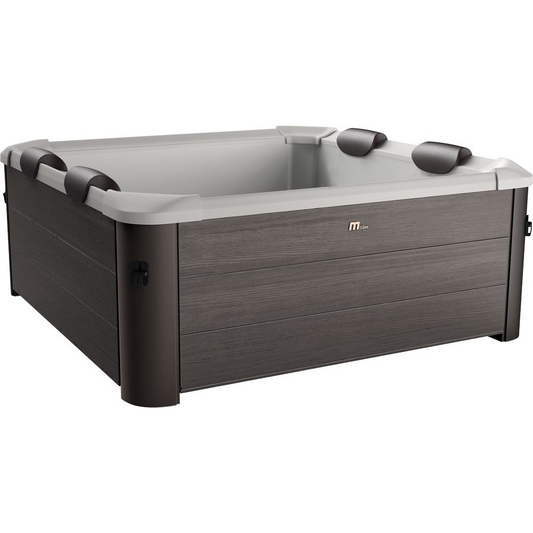
- Frame Setup: Place the pillars to each corner of the floor mat and remove the protective films. Attach the bottom seals with a simple press. Slowly slide the wall into the corner pillars and into the designated slot (the larger one). Repeat this for all 4 side walls - ensure the Logo wall is opposite the one with the control unit. Next, install the corner joints (ensuring they are correctly in the guides).
- Fitting the Interior Liner: Place the liner inside the frame (be sure to avoid any twists in the liner and pipes as this will restrict the flow. Ensure the lighting (Oslo hot tub only) is facing outwards. Gently guide the pipes through the opening of the side wall & stretch the liner over the corner pillars. Press the lengths into the runners along the top of the side walls.
- Trims & Covers: Clip together the trims and place them around the top of the side walls/frame, then attach using the provided tools & fixings. Attach the soft corner covers & headrests.
- Control Unit Connection: Connect the lighting power cable making sure the pins line up correctly, then attach the wire support (Oslo hot tub only). Connect the pipes in the correct order and tighten. Assemble the trim/cover to hide the connections (simply clicks together and slides between the control unit and hot tub frame) and push until it's a snug fit.
- Water Filter: Twist on the filter cartridge base and put the filter over the top - we suggest to change this every 2-3 months depending how heavily used your MSpa is. IMPORTANT: Make sure the filter is installed properly before operation.
Filling the Hot Tub with Water
Let’s get your tub filled! Here’s how:
- Connect the Hose: Attach your hose to a water source and place it inside the tub (you might want to hold it in place with something so it doesn't move).
- Fill It Up: Once the tub is near to the Max fill line, stop. Too much water can cause spills when the bubbles are on (or if full of people).
- Check for Leaks: Ensure everything is sealed tight to prevent any leaks.
Heating Up the Water
Now comes the fun part! Heating up the hot tub:
- Plug It In: Connect the hot tub 13amp 3-pin plug into the power socket.
- Set the Temperature: Use the control panel to set your desired temperature. Most people enjoy it at around 37-40 degrees Celsius (which is about 98-104 degrees Fahrenheit).
- Wait: It will take a little time to heat up. Grab a drink while you wait and prepare to indulge—it’s worth the wait!
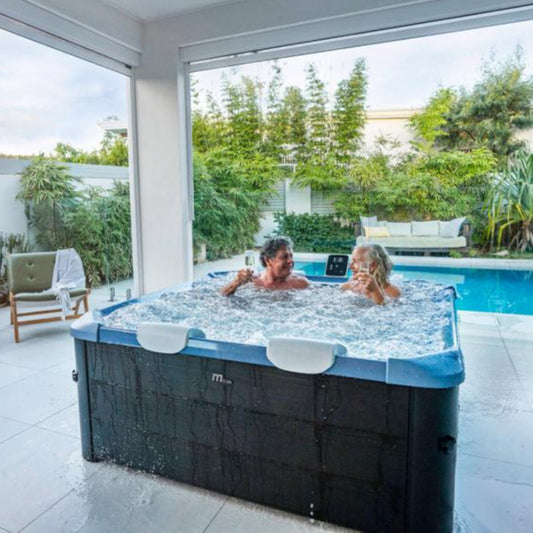
Enjoy Your MSpa Hot Tub!
Once the water is ready, it’s time to relax! Grab your towel and a swimming gear. Slip into the warm water and let your worries float away. You might even want to bring a book or some music for a perfect afternoon/evening.
Covering Your MSpa
Be sure to use the provided buckle cover & bladder when not in use to preserve heat and minimise your running costs. The cover has strong clips which attach to the corner pillars of the frame to keep it attached.
Maintenance Tips for Your MSpa Hot Tub
Keeping your MSpa hot tub in good shape doesn’t take much. Here are a few easy tips:
- Clean It Regularly: Use a soft cloth and mild cleaner to wipe inside & out of the water and frame.
- Filter: Most filters need to be changed every 2-3 months, but could be sooner or perhaps last longer (depending on the amount used).
- Check the Water Quality: Test the water every couple of weeks and adjust the chemicals as needed.
- Store It Properly: If you’re not using your MSpa hot tub and unlikely to again for some time, simply empty it & pack away for storage - keep it in a cool, dry place and ensure it is completely dry before storage to ensure damp should not occur.
Buy Your MSpa Today!
See! Setting up and installing your MSpa portable hot tub doesn’t have to be complicated. With the right spot, a few tools, and a little bit of patience, you can create your very own personal oasis. Just think of it as a mini-holiday, but in your garden! So, why wait? Dive into relaxation and enjoy every bubbly moment with MSpa hot tubs.
Buy MSpa Oslo Hot Tub > |
Buy MSpa Tribeca Hot Tub > |
 |
 |
Helpful Videos For MSpa: Install & Setup
Prefer to watch a video on how to setup the MSpa Oslo or MSpa Tribeca instead? Please see below for an in-depth guide on how to setup and install both the MSpa frame series (Oslo & Tribeca):